Best Mother's Day EVER! It actually started Saturday night when I jumped in the car and thought I was in the wrong one! TrueLove and Jake had washed, vacuumed and white gloved the whole thing. No more coffee stains in the cup holders, receipts, or lipglosses sliding around. Pure magic!
That was the rose TrueLove clipped and put in a vase for me. Awe.
Then we went to Gather in Berkeley for a farm to table brunch, now our third year tradition. Jake took this adorable picture of Calli and I. TrueLove couldn't be in it because he couldn't pose without photo-bombing our own picture. Then we did our ritual meandering on Fourth Street. Then we scooted off to Richmond to pick out more edibles for our garden at Annies Annuals. Such fun! Then we took roses to my mom at Kaiser Walnut Creek and cheered her up a bit. Poor thing, stuck in there on Mother's Day! Then we came home and feverishly planted!
So I promised a how-to for my lovely friend Carol on how to set up the milk crate gardens. She wants to put them on a second level balcony to keep away from the deer that terrorize plant life in her neighborhood. It is very simple! My daughter took the pictures with my feisty camera that has been acting up, so please forgive the poor quality, but I didn't want to keep Carol waiting since we are already in May and she has gardening to get done. Here goes the recipe!
Ingredients:
Milk Crates
Landscaper's Fabric
Chalk
Scizzors
Stapler (or sewing machine)
Staple Gun
And of course, dirt and plants
I just start on one side and then move the crate to trace the bottom and the other side to minimize cutting. You'll see.
2) Cut it out on along the perimeters.
3) Now you just staple it. If you are a seamstress, then forget all of this and sew those sides up. It will be faster, you just need to stay close to the chalk marks unless you apply your skills and make seam allowances. This is not a science, it's very rough. I usually start with the biggest piece and staple three sides together. When stapling a side, I start in the middle and work out to the edges and stay very close to my chalk lines. I do the single square side last. The next picture is to demonstrate that it doesn't need to be perfect by any means, just good enough to keep dirt and water in.
4) Admire you're workmanship.....
and then tuck it into your milk crate.
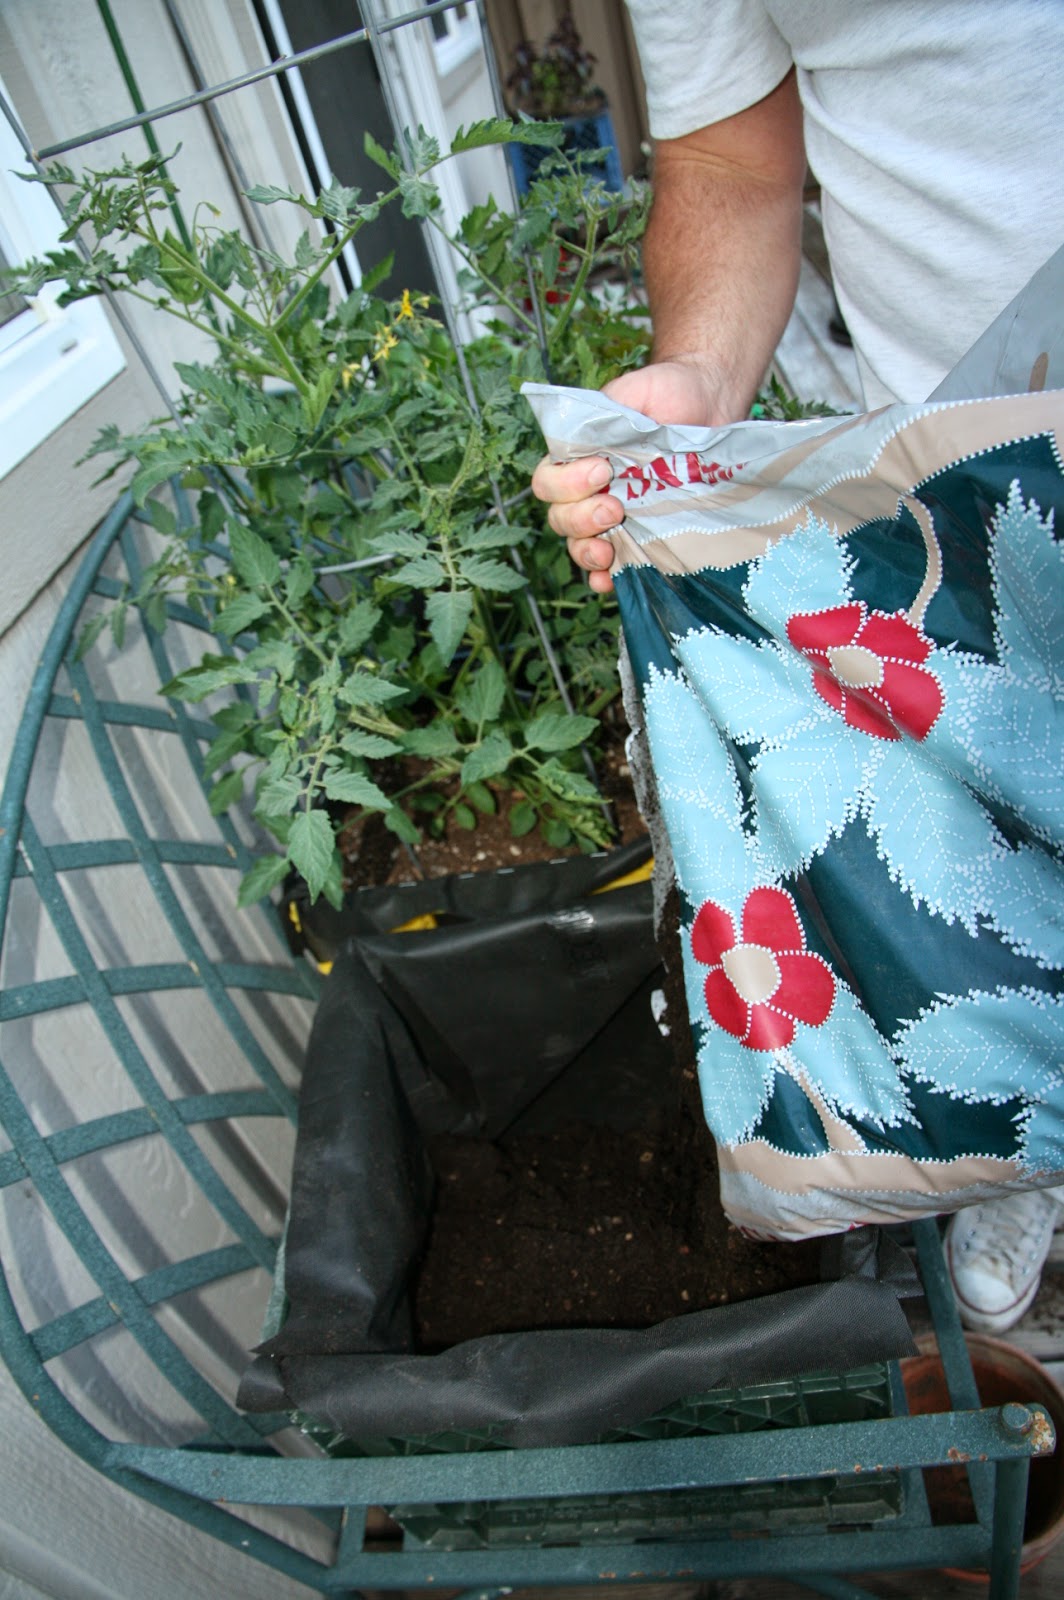
6) Pour your dirt.
7) Put your plants in. Here are the basil plants I planted a few weeks ago.
If you didn't see my post Urban Gardening, I chose to use the milk crates because I don't have space for a garden. The milk crates are easy to come by, you can easily move them around for better sun or shade exposure, use on upper levels (thank you Carol!) and they are easy on your back when planting. If you are new to my blog, I am NOT a gardener. This is my first EVER experience and I'm going on the fly. TrueLove knows a lot but he's letting me do this so I can learn. Some friends asked how my garden was going so I thought I'd add some more pics.
.JPG)


You inspire me again!! I seriously want to do this!! and I LOVE your tradition!! we love 4th st. ... oh and you are glowing!! what an awesome mother's day!!!
ReplyDeleteThank you Brittny. You should do this, it's so fun and perfect for our kind of yards!
ReplyDeleteThank you Nicole! I can't wait to get started. Where does one find milk crates? And, yes, Brittny is right. You are glowing!
ReplyDeleteCarol! If you want them to all be the same color you can order on line: http://www.milkcratesdirect.com/black-square-milk-crate
ReplyDeleteBut people always seem to have these laying around. I called out on facebook asking if anyone had any and someone responded that they had a huge stack that they'd love to get rid of. So mine don't match but they were free!